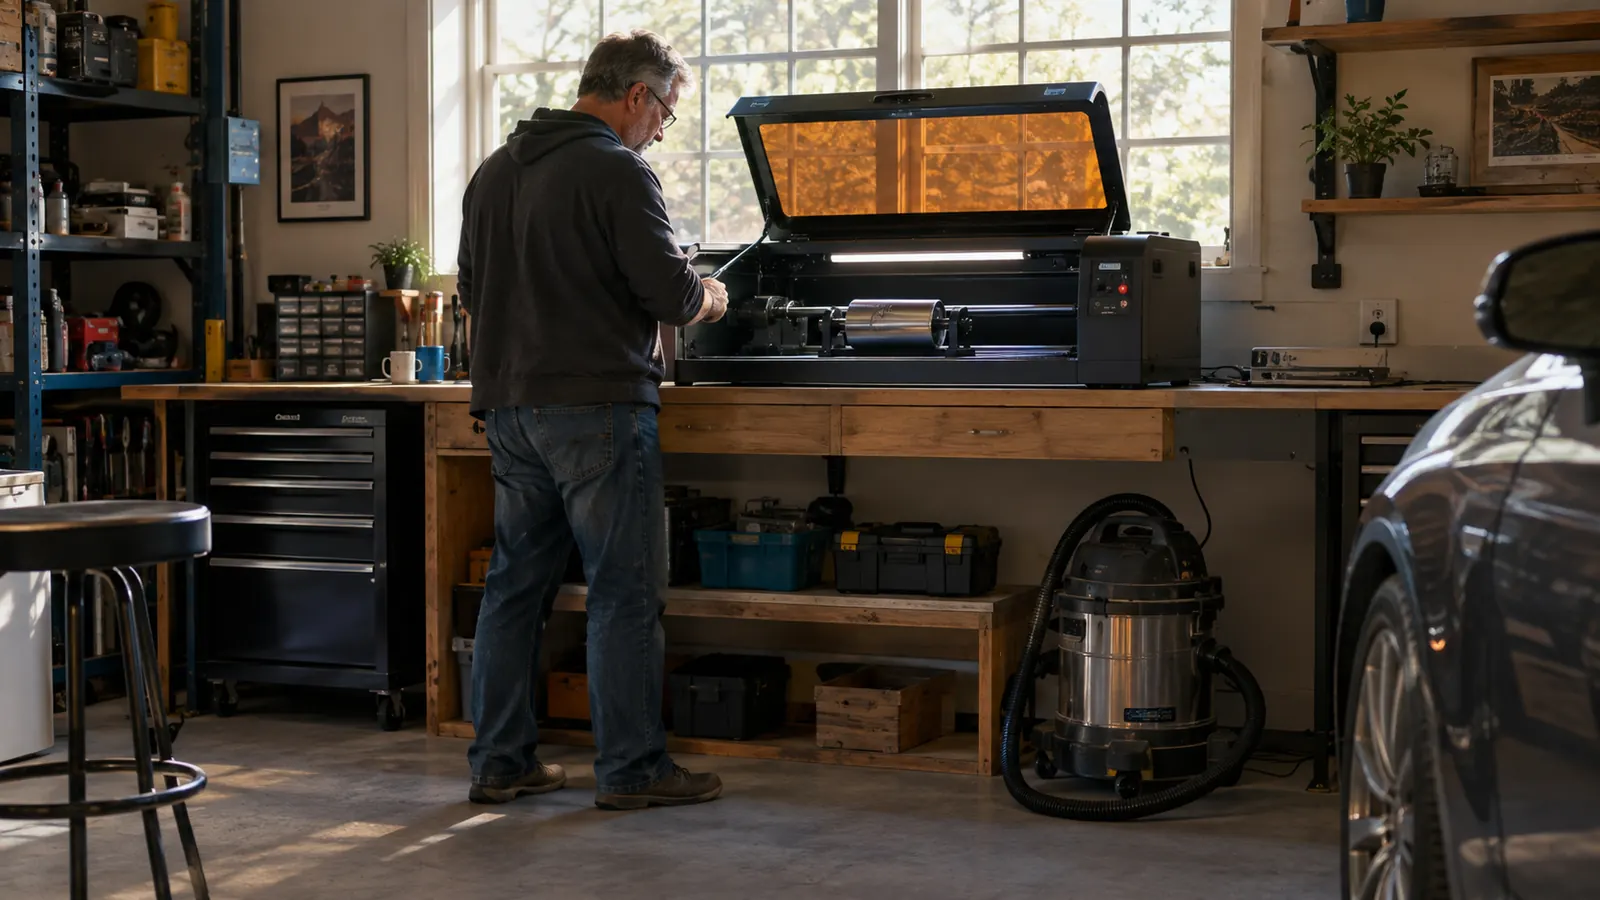
Powder-coated tumblers are the item people ask me for most at the Saturday market, and for a long time I turned every one of them down. I could cut a name into a cutting board with my eyes closed, but a curved steel tumbler is a different animal. The surface is round, the focus changes as the laser moves across it, and if the tumbler slips even a little, the design comes out banded and wavy. The fix, for me, was the xTool RA2 Pro rotary roller, and once I understood the setup, the whole job got boring in the best way.
The RA2 Pro is a Y-axis rotary roller that turns a cylindrical object under the laser while the head stays still. You put the tumbler between two rollers, the machine spins it, and the laser engraves a design that wraps around the circumference. It sounds simple because it is, once you handle the four things the manual assumes you already know: the riser, the level, the focus, and the settings in xTool Creative Space. This walkthrough covers those four in the order I wish I had done them the first time.
Add round stock to your shop without my first three mistakes
I have run the RA2 Pro on tumbler after tumbler in my Tucson garage, and the setup steps below are the ones that finally made the job repeatable. If you are ready to add round stock to your shop, check today's price on Amazon.
Amazon Check Today's Price on Amazon →Before You Start: What the RA2 Pro Needs
The first thing to know is that the RA2 Pro needs a riser on most of the machines it fits, and that is not a suggestion. The rotary rollers sit below the level of the cutting bed, so a tumbler standing between them is taller than a flat board. Without the riser, the laser head hits the top of the tumbler before it can focus. I ordered the riser with the roller and still managed to skip a mounting screw on the first try. Check that the riser rails are square before you tighten anything.
Mount the two rails that come with the RA2 Pro inside the machine, front and back, and slide the roller unit onto them. The roller has a drive wheel on one side and a free-spinning wheel on the other. The drive wheel is what turns the tumbler, so it goes on the side where the motor cable reaches without stretching. Give yourself slack in the cable, because the roller moves as you adjust it.
Before you mount anything, wipe down the rollers. Powder-coating dust and garage grime get onto the drive wheel and turn into skips in the rotation. A quick wipe with a dry rag beats a ruined design, and it takes about ten seconds.
The RA2 Pro fits the xTool S1, F1, F1 Ultra, P2, and M1 Ultra, and the listing says it works with most other diode lasers as well. If you are not sure about your machine, check the mounting rail spacing before you order. The rails are what everything hangs on, and a machine without solid rails will never hold a tumbler steady.
Step 1: Level the Tumbler Before You Do Anything Else
With the roller mounted, set the tumbler between the two wheels. The drive wheel presses against one side of the tumbler, the free wheel presses against the other, and the tumbler hangs between them like a log in a cradle. Most tumblers are slightly tapered, so position the rollers under the straightest part of the body, not under the lip near the lid.
Now check the level, and I mean check it properly. Put a small bubble level along the length of the tumbler and then across the top. If the tumbler rocks when you spin it by hand, the design will come out with a wavy line that you cannot fix in software. I chased a banded engraving for an afternoon before I realized the front roller was sitting a quarter inch lower than the back one.
Take the time to re-seat the tumbler and spin it by hand a few times. It should turn smoothly, with no click and no wobble. A tumbler that wobbles at the start will slip halfway through the job, and a slip halfway through means the design restarts out of place. That is the mistake I see people make most: they blame the laser when the roller was never level.
Step 2: Set the Focus to the Surface, Not the Bed
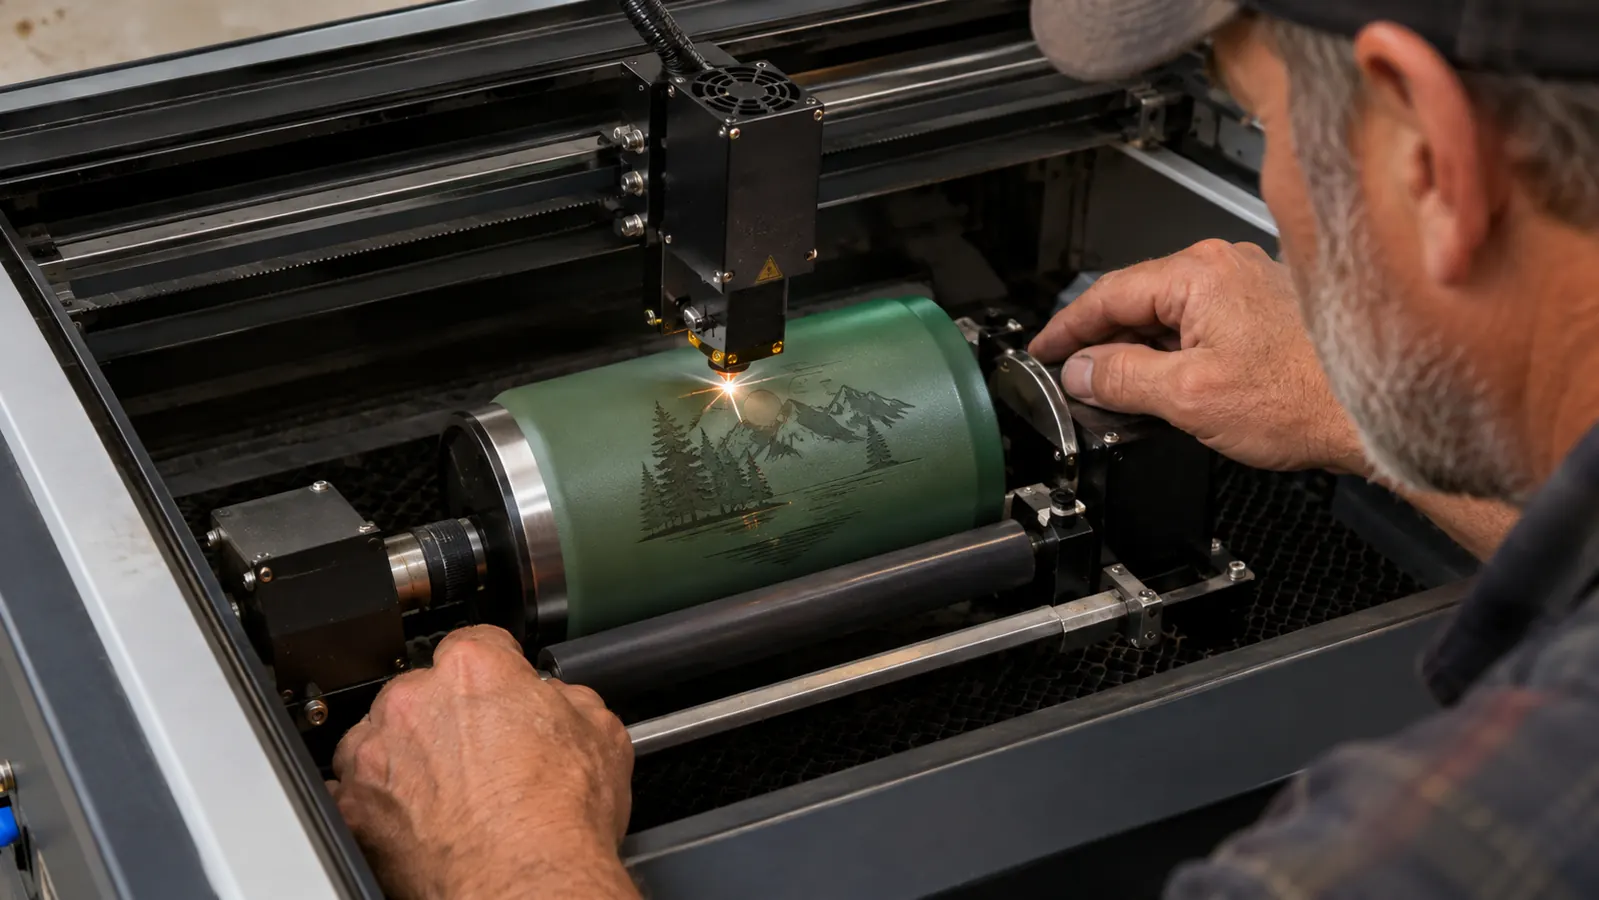
Here is the part that tripped me up longer than anything else. On a flat cutting board, you focus the laser to the top of the board. On a tumbler, you focus to the top of the tumbler, which sits an inch or two higher than the bed because the roller holds it up. If you leave the focus where it was for flat work, the laser is too far away and the engraving comes out pale and fuzzy.
Use the machine's focus tool or its auto-focus function, and lower the head until the tool just touches the top of the tumbler at its highest point. Then remove the tool and set the tumbler so the design area sits at that height. I check the focus twice: once with the tumbler in place, and once more after I tighten the rollers, because tightening can shift the tumbler a hair.
Why this matters: a rotary engraving is really a series of flat spots. The laser fires, the roller turns a fraction, the laser fires again. If the focus is off, every one of those spots is soft, and soft spots add up to a design that looks like it was printed through a wet towel.
Step 3: Tell the Software the Tumbler Is Round
In xTool Creative Space, you do not lay out a tumbler design the way you lay out a board. You switch the workspace to rotary mode and tell the software the tumbler's diameter or circumference, depending on the version you have. The software uses that number to figure out how far the roller has to turn to cover the whole design, so it can wrap the artwork around the cylinder.
Measure the tumbler at the spot where the design will sit, not at the base. Tumblers taper, and using the widest measurement makes the design come out slightly compressed. A set of calipers makes this easy, and if you do not own calipers, a sewing tape measure around the circumference works fine for the first few jobs.
Set the artwork up the way you want it to appear on the finished tumbler. Whatever is at the top of the file will be near the lid, and whatever is at the bottom will be near the base. Rotate the design before you start, not after you discover it sideways halfway through the job.
Step 4: Test on a Cheap Tumbler Before You Touch a Good One
I do not care how many times you have engraved a flat board. Your first rotary job is a test job, and it belongs on the cheapest tumbler you can find, not on the one a customer ordered. I learned this by ruining a tumbler I had promised to a friend. Actually, I owe him two, because I ruined the replacement as well.
Run a small test design first, a simple name or a circle, in a spot where a mistake is easy to ignore. Check three things: is the line clean, is the depth even, and does the design end where it started? If the design wraps around and the ends do not meet, the diameter in the software is wrong, and no amount of laser power will fix it.
Keep a notebook by the machine. Write down the power, speed, and number of passes for the test, then adjust one variable at a time. The xTool RA2 Pro settings for powder coating are a starting point, not a law. My garage in Tucson runs hot and dry, and I usually back the power off a touch compared to the manual. Your shop will be different, and that is the point of the test.
Step 5: Run the Real Job, and Watch the First Pass
When the test comes out clean, load the real tumbler, level it again, because the new tumbler is never exactly the same diameter, and refocus. Then run the job and stay in the room. The first pass tells you everything: if the coating is smoking more than a light haze, the power is too high. If the line looks faint, it is too low. You can stop a job mid-pass, adjust, and start over. A wasted two minutes beats a wasted tumbler.
After the engraving finishes, let the tumbler cool before you handle it. Powder coating holds heat, and I have burned my fingers more times than I care to admit. Wipe the engraved area with a damp cloth to clear the dust, then dry it with a clean rag. If the customer wants a deeper engraving, run a second pass at the same speed with slightly lower power instead of trying to do it all in one go. Two light passes give a cleaner edge on powder coating than one heavy pass, and they are easier on the coating.
Then check the wrap again. Rotate the tumbler by hand and look at where the design meets itself. A tiny gap or overlap at the seam is normal on the first few jobs, and it is the clue that your diameter measurement was off by a fraction. Adjust the number, run another test, and the seam disappears. That is the whole game: the machine does the same thing every time, so the quality comes from what you feed it.
What Else Helps
Three things make rotary engraving easier than my first attempts suggested. First, a clean surface: powder-coated tumblers are usually ready to engrave out of the box, but if there is any residue from shipping, wipe it with isopropyl alcohol and let it dry. Second, a strip of painter's tape along the seam where the design starts and ends gives you a visual reference and protects the coating if the roller slips. Third, patience with the first setup. The RA2 Pro takes longer to install once than it does to use forever after, and most problems come from rushing the level and the focus.
I also run the shop vac while I engrave. The window in my garage only does so much, and a small fan blowing across the work area keeps the air clear. Linda, who handles the Etsy photos and listings, is the one who pointed out that a dusty tumbler photographs badly, so I clean the finished piece before it reaches her camera. A little housekeeping makes the listing look like the work of someone who cares, because it is.
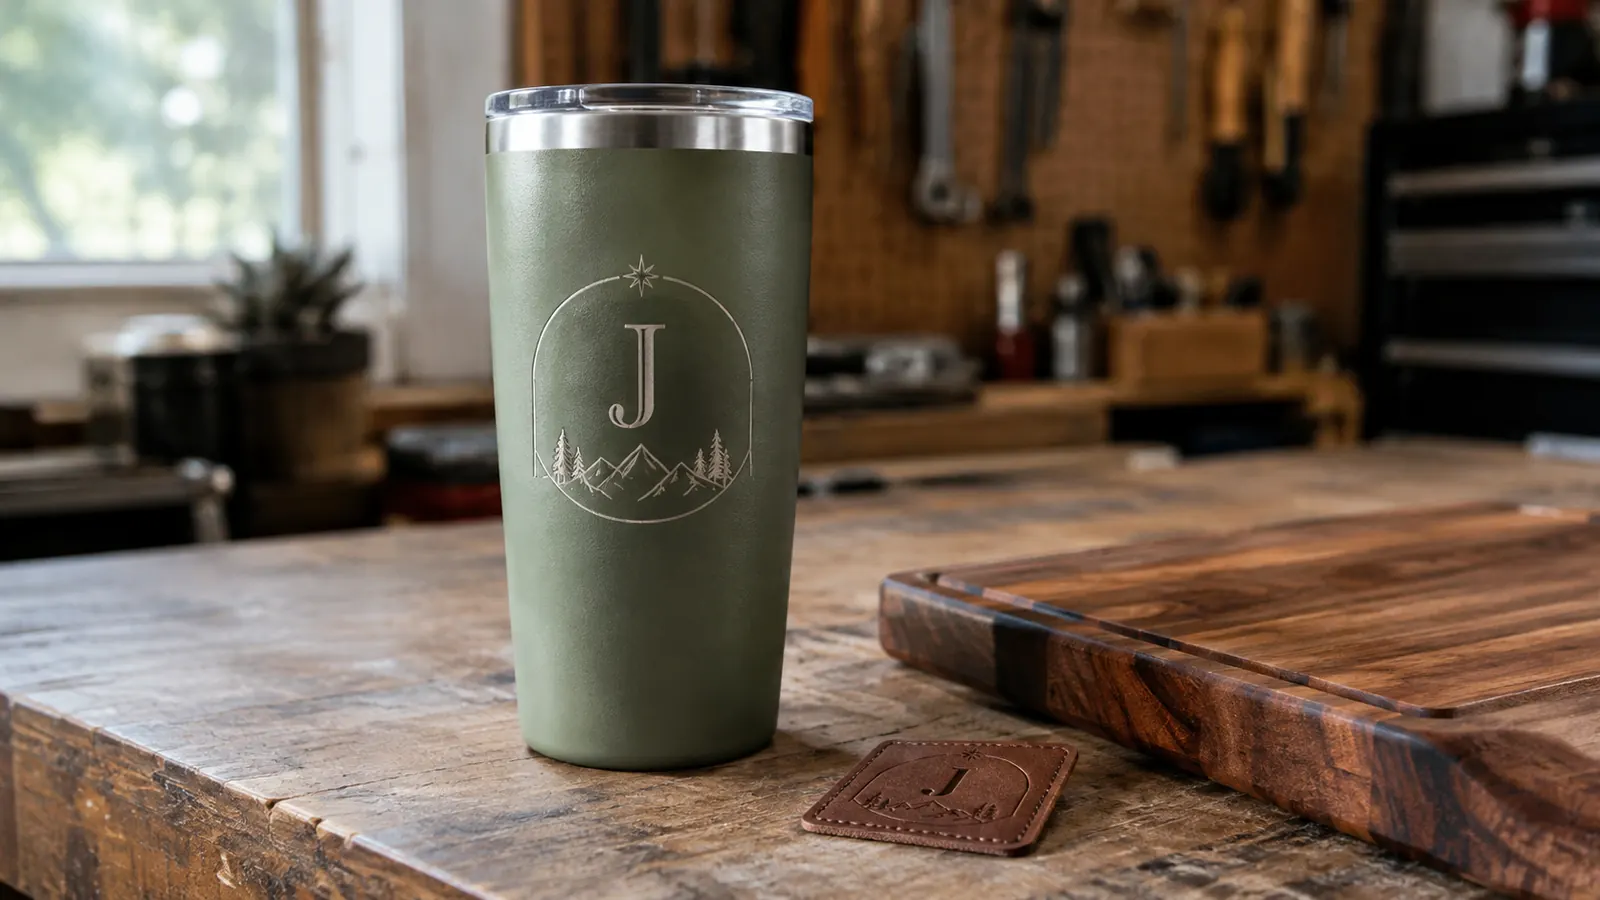
One more thing about design: stick with simple, bold artwork for your first rotary jobs. Names, monograms, and clean line art read beautifully on a curved surface. Tiny, fussy details get lost in the curve and in the texture of the powder coating. Save the complicated files for flat boards until you have a feel for how the roller treats fine lines.
My first rotary tumbler took three tries and one ruined blank. The fourth one sold at the Saturday market, and the buyer asked if I could do her whole family.
Ready to engrave round stock in your own garage?
The xTool RA2 Pro is the roller I reach for every time a tumbler order comes in. Check today's price on Amazon and see if it fits your machine before you buy anything else.
Amazon Check Today's Price on Amazon →