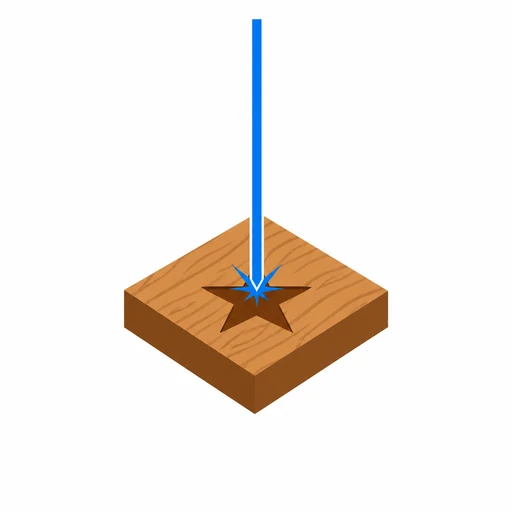

Cutting boards are the best first big job for a laser engraver, and also the easiest one to mess up. I burned my first three boards before I got one to look right. The wood was fine, the machine was fine, the settings and the focus were wrong. I also oiled one board before I engraved it, which is a mistake you only make once. The steps below are what I wish someone had walked me through when I started engraving boards with the xTool S1 four years ago in my garage in Tucson.
You do not need a big machine for most boards. A maple serving board sold as 12 by 8 inches fits the S1's work area with room to spare, and a walnut board fits just as easily. What you need is patience with three things: the prep, the settings, and the finish. I use the xTool S1 on a workbench along the back wall of my garage, with a window I vent through and a shop vac nearby. My wife Linda photographs the finished boards and handles the Etsy listings. This is the exact routine we use, including the mistakes to avoid.
Engrave a full-size cutting board in an afternoon
The xTool S1 is the 40W machine on my workbench. It handles maple, walnut, and cherry boards, plus the tumblers, leather patches, and slate coasters I sell at weekend craft fairs. Check today's price on Amazon and decide if it fits your bench.
Amazon Check Today's Price on Amazon →Step 1: Pick a board that lasers well
The board matters more than the machine. Maple, walnut, and cherry all engrave cleanly. Maple is light, so the engraved mark shows up dark and sharp, which is why most of my boards are maple. Walnut is already dark, so an engraving on it relies on the burnt mark and a little texture, and the contrast is more subtle. Cherry sits in between and darkens nicely as it ages. I keep a stack of all three on a shelf in the garage.
Skip pine, fir, and cedar. Softwoods have uneven grain that engraves patchy, and the resin puts out more smoke. Skip anything with a plywood core or a filler. And look at the glue lines. A lot of attractive boards are made from strips glued together. Some wood glues engrave fine, but a few leave a hard ridge or smoke heavily. If you can see the glue lines, ask what the board is made of, or just buy a one-piece board. For your first few boards, one-piece is simpler.
The board has to be bare wood. If it has oil, wax, or a stain on it, the heat has nowhere to go, the finish smokes, and you can end up with a flare-up. I made that mistake once and it left a scar in the wood I could not sand out. Unfinished is the rule. I also check that the board sits flat on the honeycomb and does not rock. A board with a slight bow engraves fuzzy on the high side and burnt on the low side.
Step 2: Sand flat and clean off every bit of dust
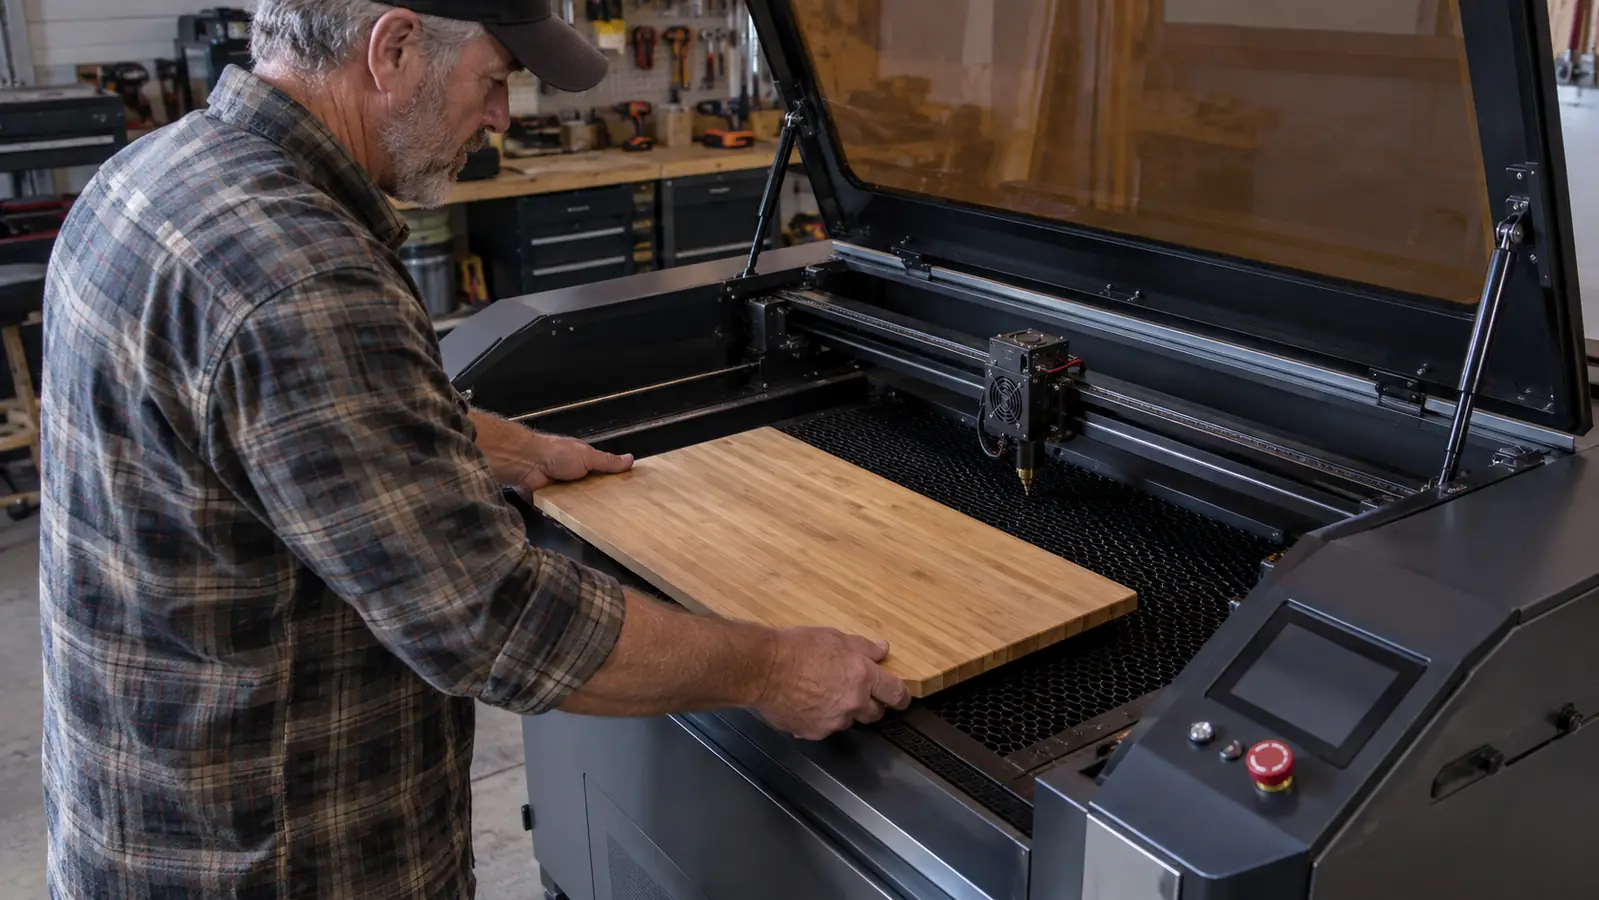
Sand the board to 220 grit. If the board is rough from the lumber yard, start at 120, then move to 220. A flat surface matters more than people think because the laser's focus depth is short. If the surface is not flat, the text is sharp in one corner and soft in the other. After sanding, wipe the board with a damp cloth, let it dry, and sand it once more at 220. That raises the grain and knocks it back down, which stops the laser from leaving a fuzzy texture through the engraved lines.
Then clean the board completely. I vacuum it with the shop vac, then wipe it with a lint-free cloth. Any dust left on the surface will char under the laser and leave dark specks that you cannot sand out afterward. I also wipe the honeycomb bed now and then, because dust from earlier jobs will show up on the back of a fresh board and can ghost through on the edges.
Measure the board before you set up the job. The S1 work area is about 23.93 by 15.16 inches, so a board up to that size will fit in one pass. A 12 by 8 inch serving board leaves a comfortable margin on every side. If your board is larger than the bed, you can move it and run two passes, but lining up the second pass is painful. Start with boards that fit whole. The margins also give you room to center the design without the edge of the board wandering under the beam.
Step 3: Set the focus and test the settings on scrap
Open xTool Creative Space and import your design. I mostly do text and simple line art for boards: names, dates, a small botanical or Southwest motif. Drag the design onto the mockup of the bed and center it on the board outline. Place the actual board on the honeycomb and make sure it is flat. Then set the focus distance for the surface of the wood, not the bed. The S1 has a focus aid in the software, and it takes ten seconds. Use the framing feature to draw the outline of the job with the lid open and low power before you run it. That one habit catches most of the mistakes I used to make.
Then run a settings test on a scrap of the same wood. I cut a small grid: a few lines of text at 40, 55, and 70 percent power, and speeds between 80 and 150 millimeters per second. On maple with the 40W S1, I usually land around 55 percent power and about 110 millimeters per second for a solid dark mark. Walnut needs less power, around 40 to 45 percent, because the wood is already dark and takes heat well. Cherry is in between. The moisture in the wood and the age of your lens shift the result, so the test grid is worth the fifteen minutes it takes. Keep a small notebook with the settings for each wood, because you will come back to them the next time you buy a batch.
Write the winning setting on the back of the board with a pencil. I keep a notebook too, but the pencil mark is faster and stays with the board until I sand it off. Keep the test grid small so you are not burning through scrap all afternoon. You are looking for a dark, even mark with no deep charring and no yellowed edges around the lettering. When the test comes out right, you are ready to run the real job.
Step 4: Run the job and deal with the char
Load the board, set the origin, and run the job. Keep the lid closed while the laser is working. The S1 has an exhaust port, and I run a hose out the window in the garage with a fan pushing the air. You do not want to breathe smoke from any wood, and walnut smoke is especially worth keeping out of your lungs. The machine mostly takes care of itself; your job is to stay nearby, watch the first pass, and make sure nothing shifts.
A little char and a light ash on the engraved lines is normal. Let the board cool for a few minutes, then wipe the ash off with a clean dry cloth. If the edges of the engraving are heavily charred, the speed was too slow or the power too high; make a note and adjust the test grid next time. Use a soft brush for stubborn ash, and avoid water, because a wet board will raise the grain again and you will have to sand and clean it a second time. If a burned smell lingers, set the board near the open window for an hour before you oil it.
For a very clean edge around the design, press transfer tape over the surface, engrave through the tape, then peel it off. The tape catches the smoke stain so the surrounding wood stays light. I only bother with this for gift boards or boards going into a photograph. For the boards I sell at the fair, a light pass with 320-grit sandpaper after the engrave tidies the edges without dulling the mark. Sand gently and only on the unengraved areas.
Step 5: Finish food-safe and let it cure
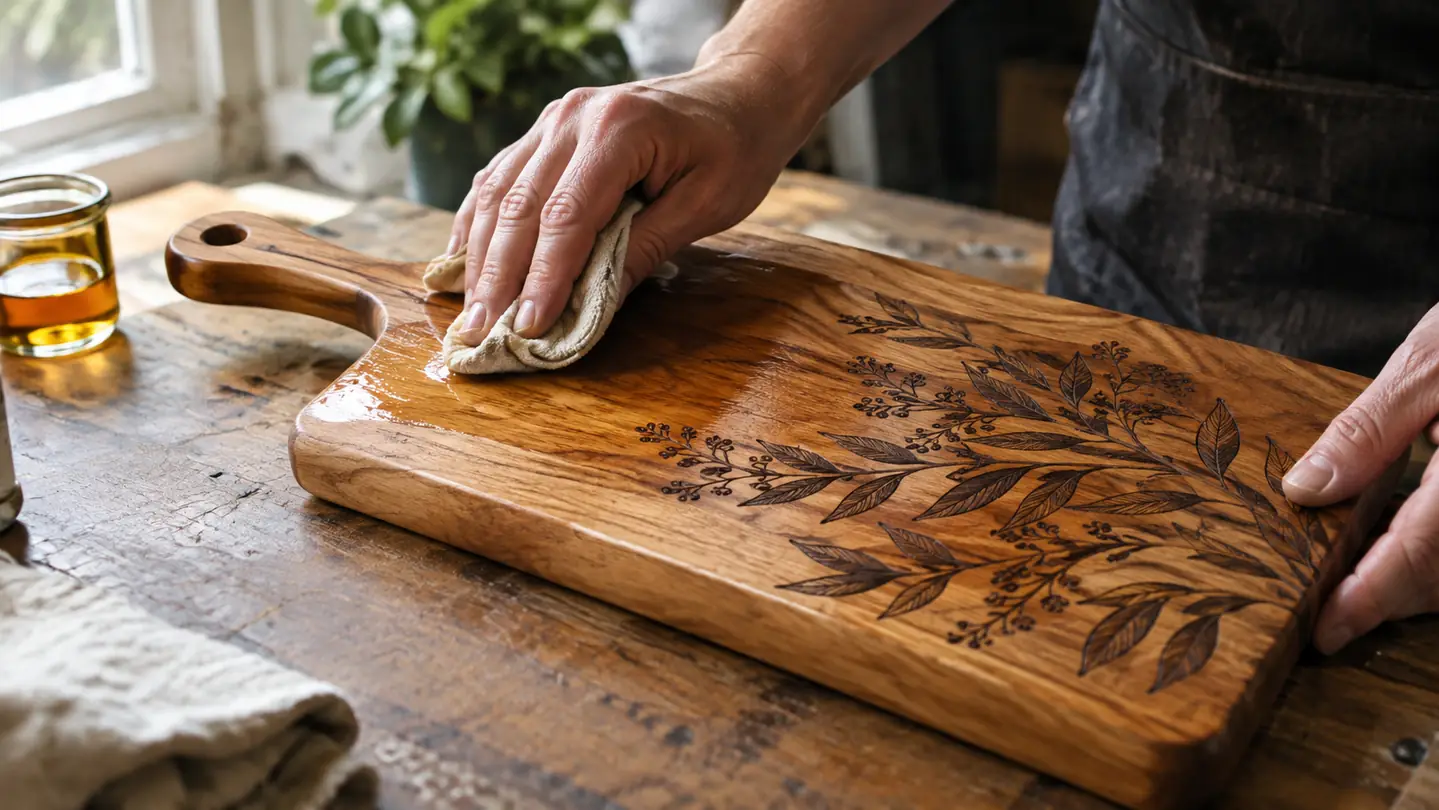
The last step is the one people rush, and it decides whether the board actually gets used. After the engraving is clean and dry, apply food-grade mineral oil. I pour a generous coat over the whole board and spread it with a lint-free cloth. Let it soak for twenty to thirty minutes, wipe off the excess, then set the board aside overnight. The wood will soak up more on the first coat than it ever will again.
The engraved area will darken as the oil soaks in. That is normal, and it is the moment the board starts to look like something you could sell. If you want a bit more protection, a board conditioner with beeswax works well on top of the oil. Never use a typical varnish or shellac on a cutting board, and never tell a customer it is dishwasher safe. Hand wash, dry promptly, and re-oil when the surface looks dry, which in Tucson is about once a month.
Then I sign the back with a small made-by mark, take a photo in good light for Linda to post on Etsy, and set the board aside for at least a day before it goes anywhere. The curing time is part of the finish. A board that is still wet will smear and pick up lint, and a board mailed too soon can arrive sticky. Give it the overnight rest and it will be ready for a fair table or a shipping box.
What Else Helps
Three things make this routine much easier. The first is a small pile of scrap in the same wood as the boards you are using, for the settings test. Lumber yards and cabinet shops sell offcuts cheap, and a few scraps last for months. The second is a roll of transfer tape, which is cheap and saves the gift boards. The third is a vacuum nozzle kept near the machine so cleanup stays a thirty-second job. On ventilation, the S1's exhaust port plus a window fan is enough for a small garage shop; if you work in a spare room with no window, look at a filter or run the hose somewhere the smoke can go.
If you are new to lasers, also buy a cheap test material you do not care about, like a scrap of plywood or a couple of practice blanks, and run a few practice jobs before you touch a board. The machine is forgiving, but the first hours have a learning curve, and it is easier to learn on something you are not planning to sell. I still run a practice line on a scrap of maple before every fair weekend, just to confirm the settings before the real boards go in.
The engraving is the easy part. The prep before it and the finish after it are what turn a board from a project into something you are proud to sell.
Ready to try your first board
The xTool S1 is the machine I reach for on my workbench, and it handles the maple, walnut, and cherry boards I sell. It is the same 40W machine I have used for four years of craft fairs and Etsy orders. Check today's price on Amazon and see if it fits your shop.
Amazon Check Today's Price on Amazon →