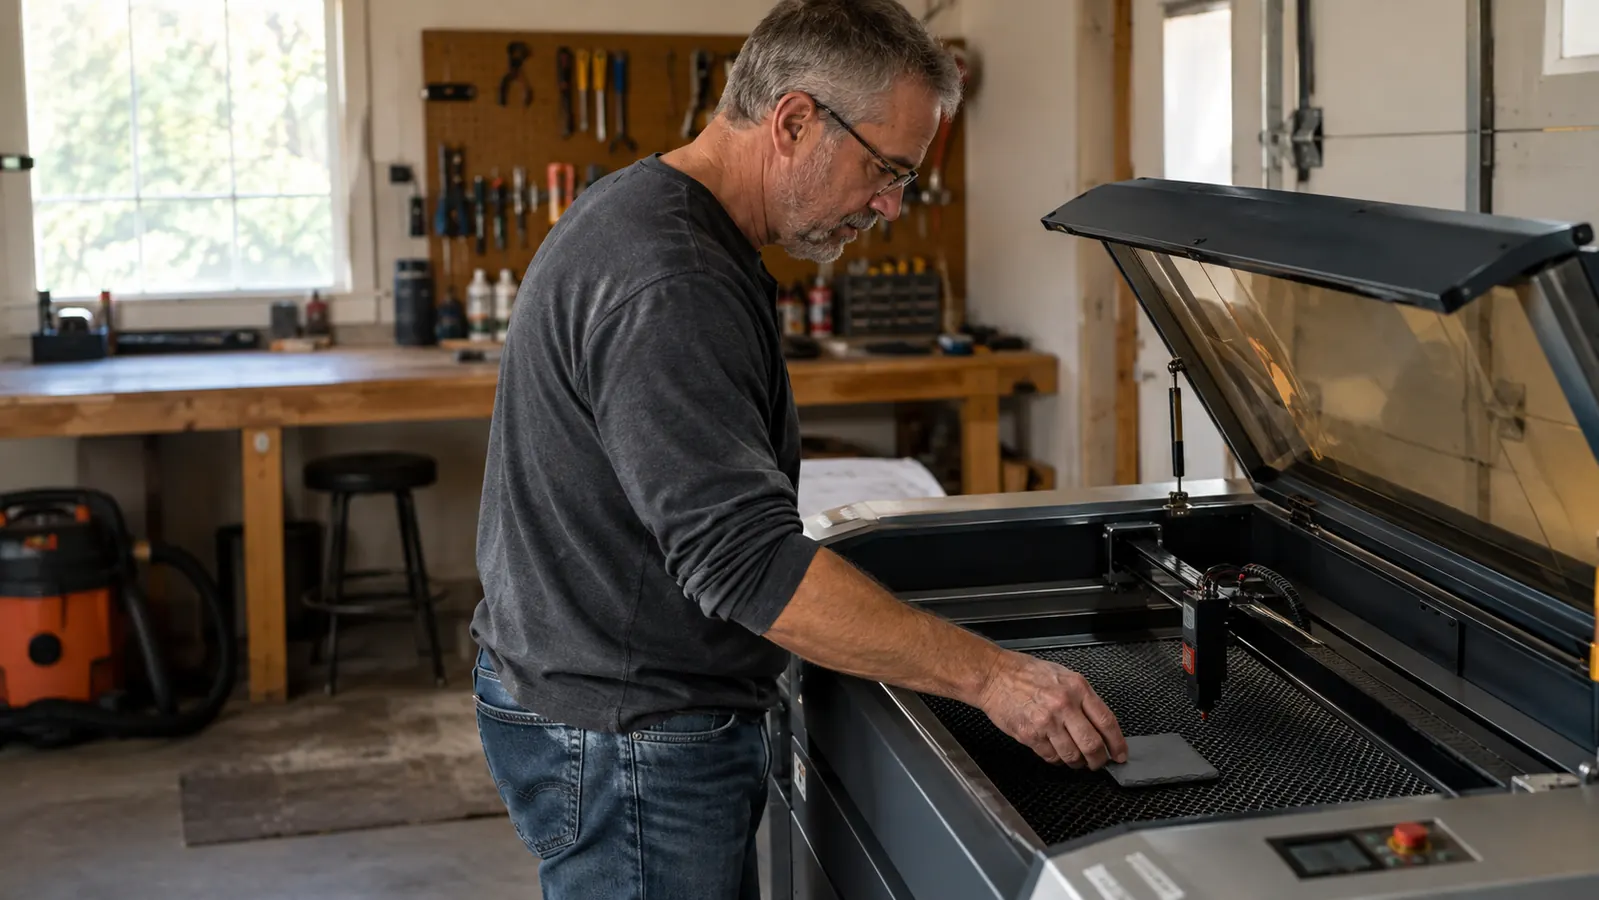
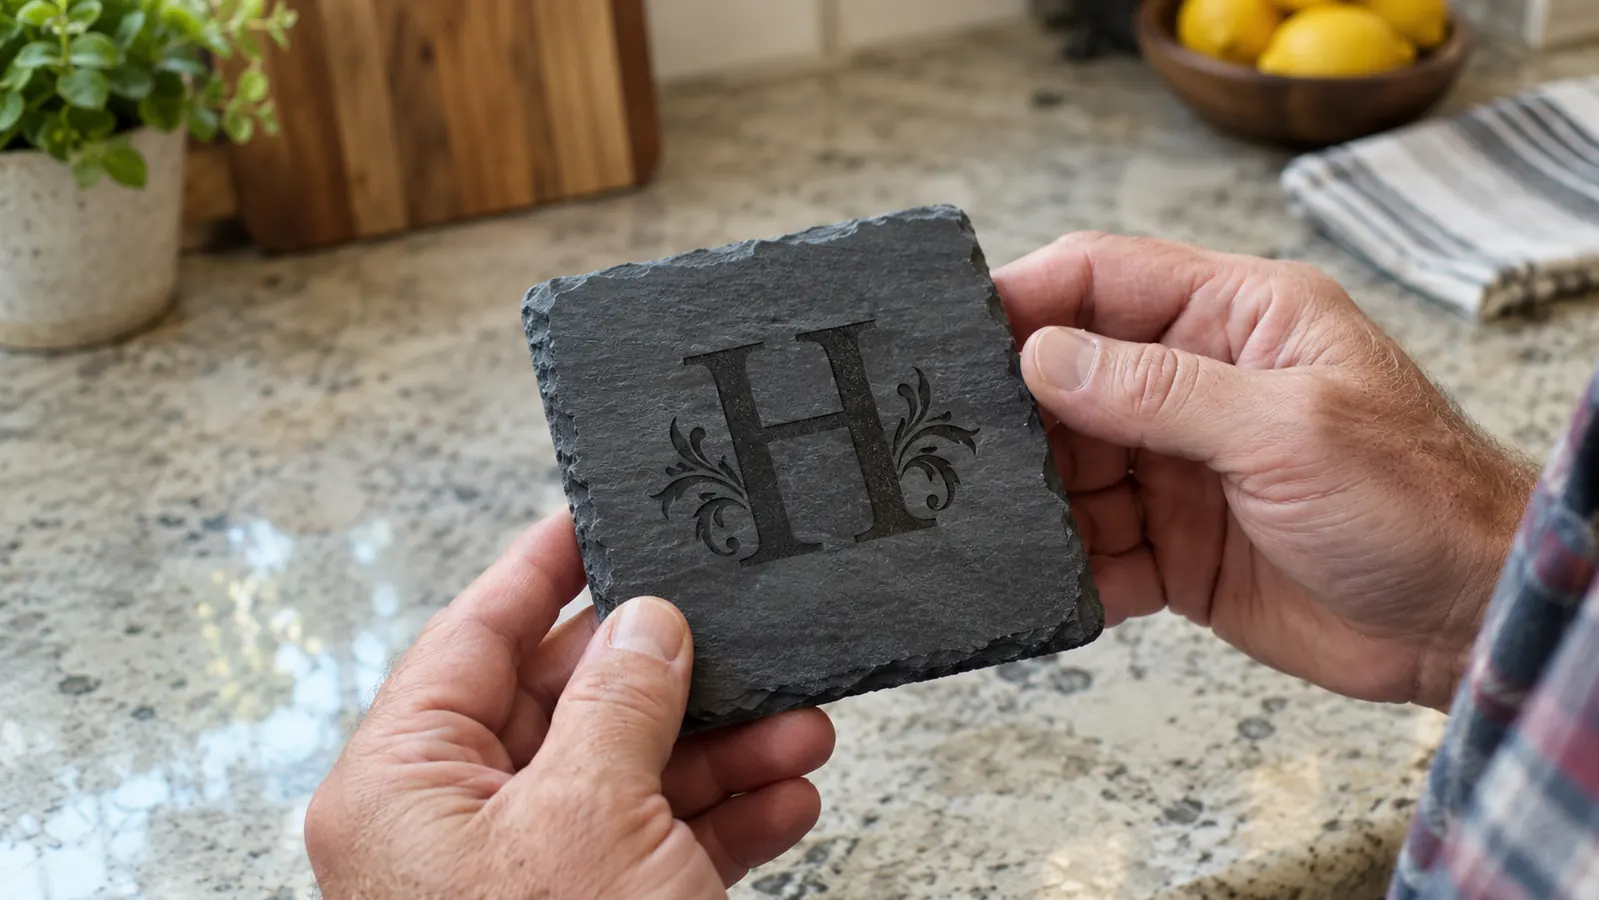
The first time I tried to engrave a slate coaster, I did everything wrong. I skipped the washing step, focused the laser by eye, and ran the job at a speed I guessed at. The result was a coaster with a burn so light you could barely read the monogram, plus a gray dust all over the honeycomb bed. I sold that coaster at a garage sale just to get it out of the shop. It took me most of that Sunday to finish a batch of six, and only two were worth showing anyone. Four years later, slate coasters are one of the most reliable things I make with the Acmer S2, and the difference is not the machine. It is the process. I want to walk you through that process the way I wish someone had walked me through it back then.
Slate is a forgiving material once you understand it. It is soft, it engraves fast, and it does not need the power that hardwood does. But it punishes the details people skip: a dusty surface, a soft focus, a missing air assist line. This guide walks through the exact routine I use on the Acmer S2, from washing the stone to sealing the finished edge. If you follow it, your first coaster will look like something you could sell, not something you hide in a drawer.
Start With a Machine That Handles Slate Without a Fight
The Acmer S2 20W diode laser with its 25L air assist is the machine I reach for when I have a stack of coasters to finish before a craft fair. It cuts the engraving time, keeps the stone cleaner, and gives you the contrast you need on dark slate.
Amazon Check Today's Price on Amazon →Step 1: Wash and Dry the Coasters
Slate coasters arrive from the supplier covered in a fine stone dust, and sometimes a thin film from the cutting process. If you engrave over that, the laser burns the dust instead of the stone, and you get a patchy, light mark that looks like a bad photocopy. I wash every coaster in warm water with a drop of dish soap, scrub lightly with a soft brush, and rinse well. I use a plastic tub from the hardware store for this, not the kitchen sink, because the stone dust can scratch porcelain. Linda has opinions about that.
Then I dry them completely. A damp coaster engraves unevenly because the water absorbs the laser energy. I set mine on a towel on the workbench and let them sit for at least an hour, sometimes overnight if I am doing a big batch. In Tucson's summer heat they dry in twenty minutes. In July, during monsoon season, the same coasters can still feel cool to the touch two hours later, so I let them decide, not the clock. The Acmer S2 does not care whether the stone is wet, but the engraving does.
One more thing: handle the clean coasters by the edges. The oil from your fingers leaves a mark that shows up as a light fingerprint in the finished engraving. I learned this the hard way on a set of twelve monogrammed coasters for a wedding gift. The fifth had a ghost of a thumbprint right in the middle of the letter, because I had picked it up with bare fingers to set the focus. I keep a clean cotton glove on the bench for this step, and it saves me from redoing coasters that looked perfect until I handled them.
Step 2: Set the Focus With a Ruler, Not Your Eyes
The most common mistake I see from beginners is focusing by eye. They lower the laser until it looks close, then run a job that comes out soft and shallow. On slate, a soft focus is the difference between a crisp dark monogram and a fuzzy gray one. The Acmer S2 has a fixed focus distance, and the reliable way to hit it is with the acrylic ruler that came in the box, or a plain metal ruler if you lost that one.
Place the ruler on top of the coaster, lower the laser head until it just touches the ruler, then remove it. That puts the focal point at the surface of the stone. I check this on every single coaster, because slate thickness varies by a millimeter or two even in the same box. I once opened a box of forty coasters from a new supplier where the top piece was a shade under 8mm and the bottom piece was close to 10mm. If I had set the focus once and run the whole box, every coaster past the fifth would have come out gray. I know, because I tried it on the first five.
The diode in the Acmer S2 has a narrow depth of field. Move out of focus by two millimeters and the beam spreads enough to soften every line. That is why I take the ten seconds to check focus on each coaster, even when I am rushing to finish a batch before a Saturday market. It is the cheapest insurance in the whole process.
Step 3: Use the Right Speed and Power Settings
On the Acmer S2, I run slate at about 3000 mm per minute with 70 to 80 percent power for a standard monogram or a simple design. That gives a dark, even burn without blowing through the surface of the stone. Slate is soft, so you do not need full power. Full power on a slow speed will overburn and create a rough, chalky groove that catches drink rings and looks messy. I found that sweet spot the second week I owned the machine, on a test tile. At 55 percent power and 1500 mm per minute, the line was a pale gray that barely showed. At 85 percent and the same speed, the laser carved a groove you could catch a fingernail in. Seventy-five percent at 3000 sits in between, and it has been my starting point ever since.
For fine text or detailed line art, I slow down to around 2000 mm per minute and drop the power to 60 percent. The slower pass lets the laser dwell long enough to darken the line without charring the edges. For a solid fill, I run two passes at a higher speed rather than one slow heavy pass. The first pass goes left to right at 4000 mm per minute and 70 percent power, then a second pass at the same speed with 75 percent. Two lighter passes give a more even fill on slate than one aggressive one, and they do it without the chalky overburn.
Write your settings down. I keep a spiral notebook on the workbench with a page for slate, a page for leather, a page for cutting boards. When a setting works, I record it. When it does not, I record that too. Last winter I bought a batch of slate from a different supplier and the first test tile came out washed out. Same machine, same settings, different stone. I flipped back through the notebook and found a page from two years earlier where I had run that same supplier's slate at 10 percent more power. That page saved me an afternoon of guessing. Four years in, that notebook is worth more than any upgrade I have bought.
Step 4: Turn On Air Assist and Let It Work
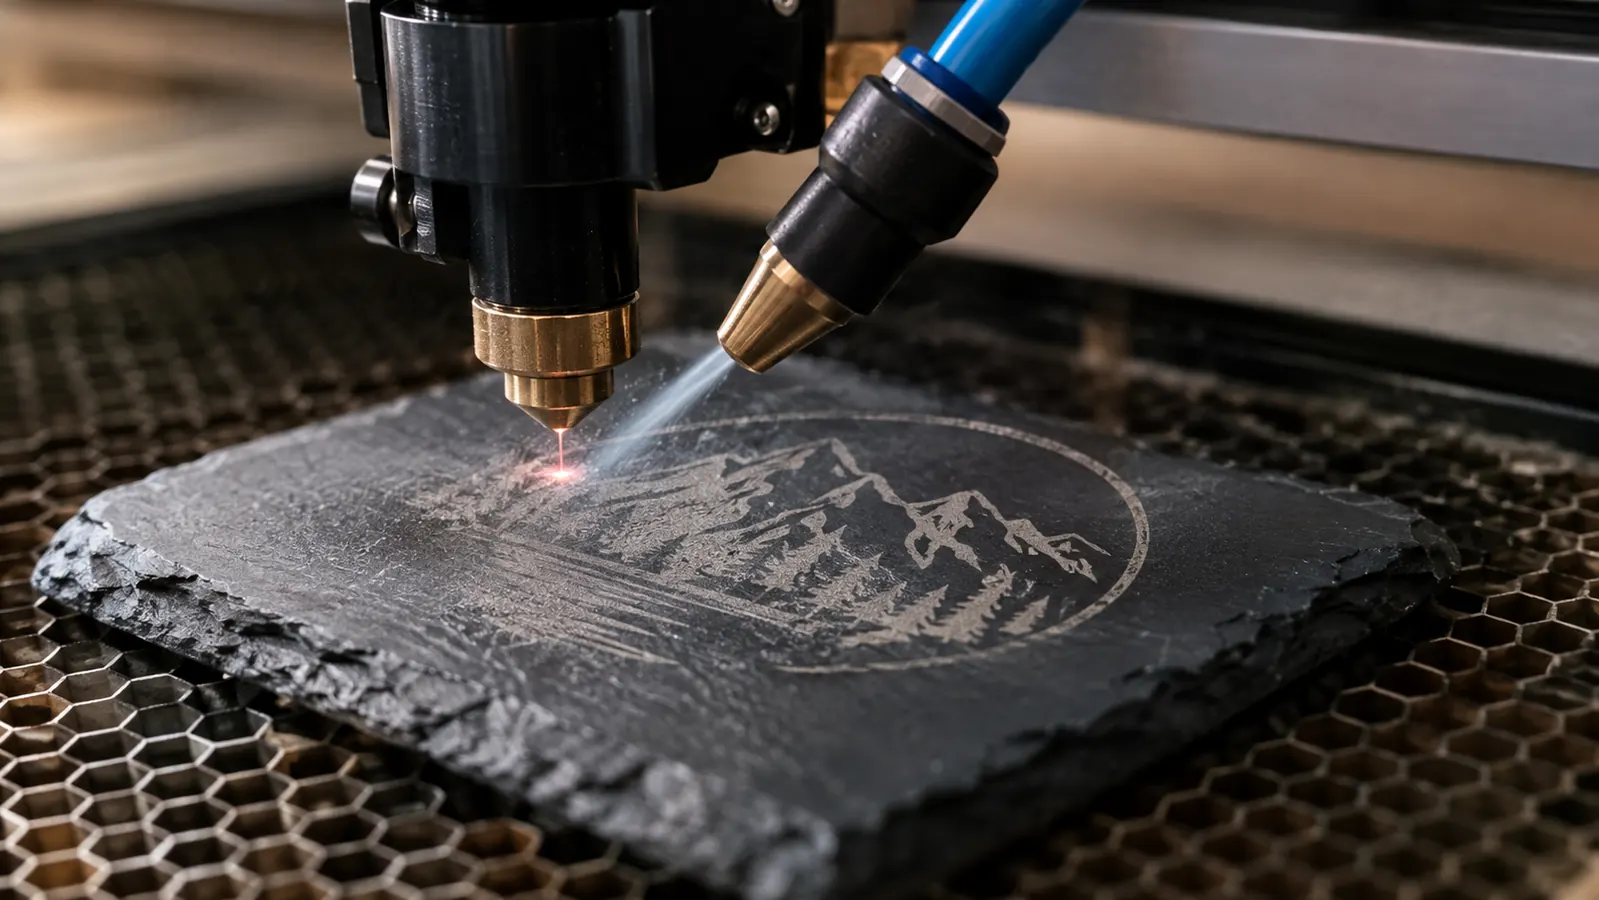
The Acmer S2 comes with a 25L air assist pump, and for slate it is not optional. Slate produces a fine dust as the laser burns, and that dust settles right back onto the stone in the path of the beam. The air assist blows it out of the way so the laser hits clean stone on every pass. Without it, you get a lighter engraving with a dusty gray halo around the edges. I learned this the hard way on my first machine, years before the Acmer. I ran a slate coaster with no air assist and had to stop halfway through to wipe the stone with a dry brush. The second half came out darker than the first, because the stone was clean again. That two-tone coaster taught me more about air assist than any manual ever did.
I turn the air assist on before I start the job and leave it running until the head finishes and parks. I also point a small fan toward the work area to push the dust away from the lens. Slate dust is fine, and it will find its way onto the lens if you give it time. A dirty lens is another reason engravings come out weak, and it is easy to prevent. I check the lens with a flashlight before every session. A light film of gray dust after a batch of slate is normal. A blotch you can see without the light means it is time to clean it, which on the Acmer S2 is a two-minute job with a microfiber cloth and a drop of lens cleaner.
Check the air hose before every session. A kinked hose or a loose fitting cuts the airflow by half, and you will not notice until the engraving comes out light. I give the hose a quick look and a tug when I set up. Two summers ago I ran a whole set of eight coasters and every one came out patchy on the left side. I blamed the settings, the focus, even the batch of slate. The next morning I found the air hose folded under the edge of the machine, pinched flat. One straightening, and the next coaster came out clean. That was the day I added the hose check to my setup routine.
Step 5: Seal the Coaster and Clean Off the Residue
When the engraving is done, the coaster will have a light gray dust in the recessed lines. I brush it off with a soft dry brush, then wipe the whole coaster with a damp cloth. Some people use a wet paper towel, but I find a soft cloth leaves less lint behind in the engraved lines. I also blow across the engraved lines to clear the deeper parts before I wipe. A rubber blower bulb from the camera store works better than compressed air for this, because it does not push the dust deeper into the grain of the slate.
Then I seal the coaster. Slate is porous, and an unsealed coaster will soak up drink rings and stain. I use a food-safe mineral oil or a spray sealer made for stone, applied with a soft cloth and wiped off after a few minutes. I apply the sealer in a circular motion, let it sit for about five minutes, then wipe off the excess with a clean cloth. One light coat is enough for coasters. The sealer darkens the slate slightly and makes the engraved lines pop. It also makes the coaster practical, which is the whole point of a coaster.
Let the sealer cure for at least a few hours before you stack the coasters or put them in a bag for a customer. If you rush this step, the coasters will stick together and the sealer will smear. I learned that at a November market in the park. I was packing up as the sun went down, a customer bought a set of four, and by the time she reached her car, two of them had fused along their edges. She was good about it, but I replaced the set and I have never rushed the curing step since. Now I seal the night before a market, and I leave the coasters spread out on the bench until morning.
What Else Helps
A few extras make the whole routine easier. A honeycomb workbed keeps the coaster flat and lets the air assist work from underneath. A small brush with stiff bristles cleans the engraved lines faster than a rag. And a test tile, a cheap coaster you do not care about, is worth its weight in gold. I cut my test squares as a 20mm box with a line through the middle, running three power levels in a single job. Ten minutes on a tile I do not care about beats an hour of redoing coasters I do. I run a fresh test square whenever I switch to a new batch of slate, because the same settings can behave differently from one supplier to the next.
If your engraving comes out patchy, the cause is almost always one of three things: the coaster was not clean, the focus was off, or the air assist was not flowing. I check those three in that order before I touch the settings. Nine times out of ten, the fix is not more power. It is better prep. Changing the settings first just wastes a coaster, and then I have to stop, clean, and refocus anyway.
Nine times out of ten, a patchy engraving is not a power problem. It is a prep problem: a dusty coaster, a soft focus, or an air assist line that is not flowing.
Get the Acmer S2 and Start With a Clean Slate
The Acmer S2 20W diode laser with 25L air assist is the machine I use for slate coasters, cutting boards, leather patches and tumblers. It is a solid workhorse for a garage workshop, and it handles slate without the fuss.
Amazon Check Today's Price on Amazon →