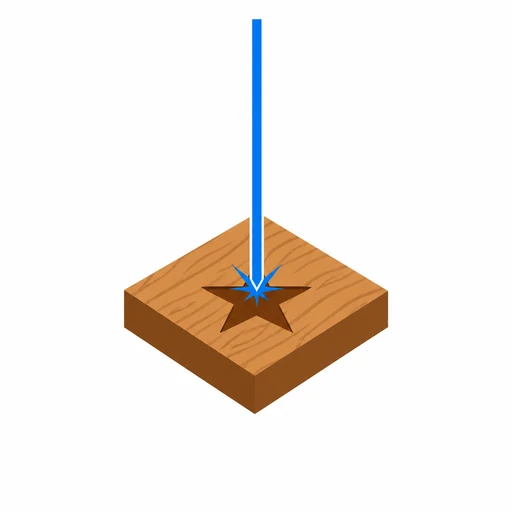
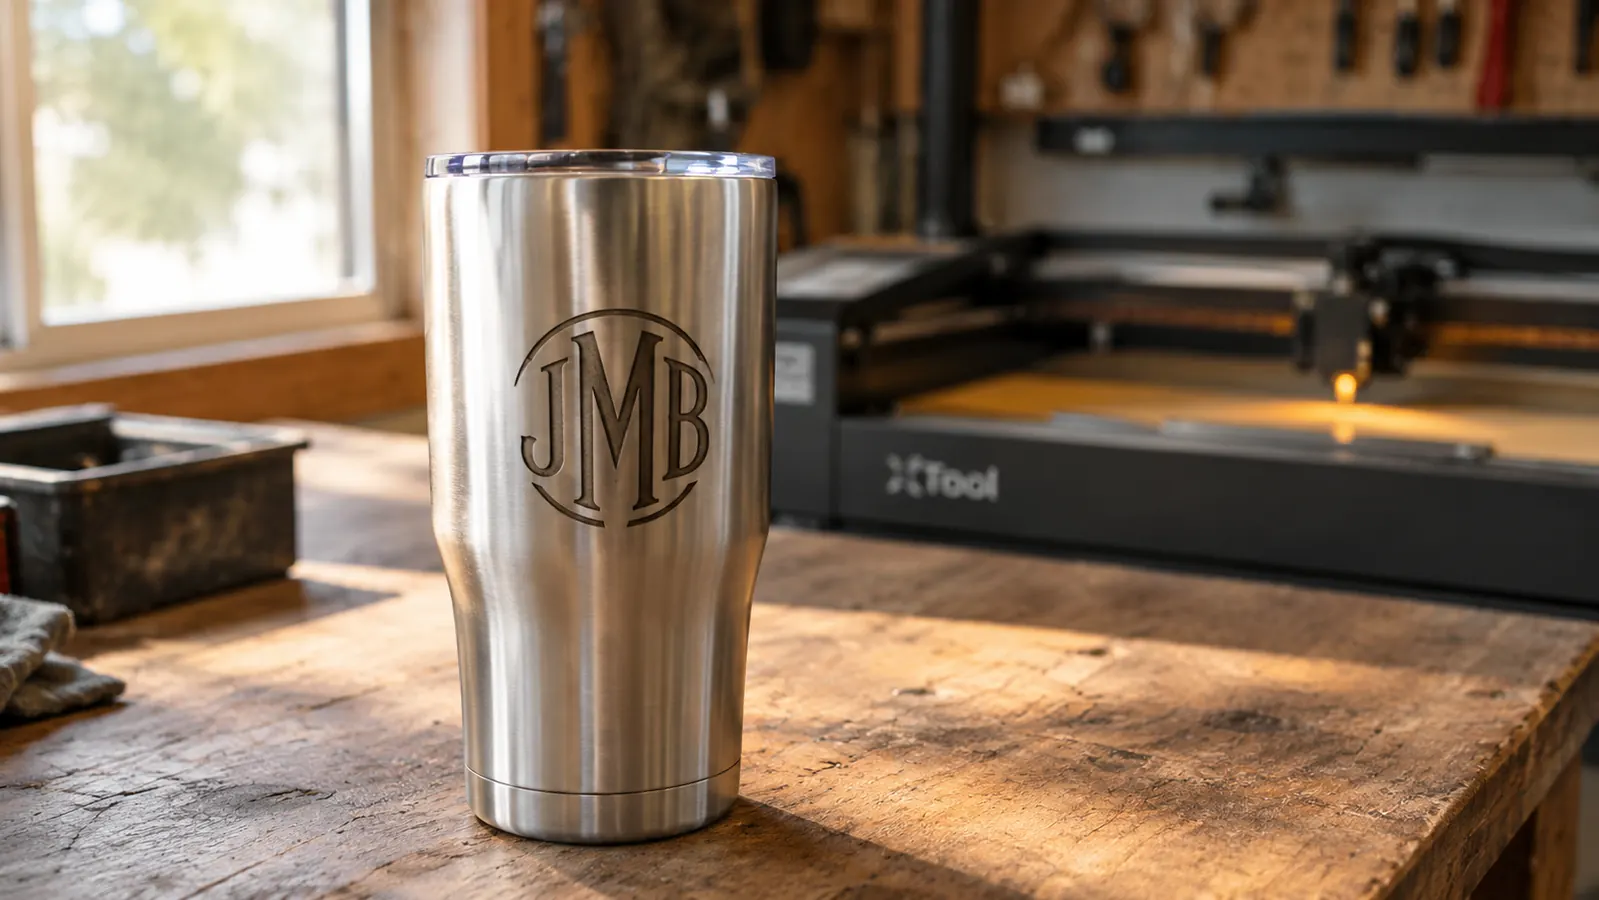
If you have tried to engrave a stainless steel tumbler with a diode laser, you already know how the first one goes. The machine runs, the lid is on, the design is centered on the screen, and then you open the door and the mark is so faint you can barely see it. Or worse, there is a brown streak where your design should be. I burned through three cheap blanks before I got my first clean tumbler, and every one of those failures came down to something I should have checked before hitting start. This guide walks through the exact process I use now with the xTool F2, so you can skip the part where you learn by ruining blanks.
Here is the thing about tumblers that makes them different from a flat cutting board or a leather patch: the surface is curved, the material is thin, and the steel is reflective. All three of those things work against you. The curve means the focus changes as the beam moves across the design. The thin walls mean too much power can blow through the surface and leave a rough, dark scar. And the reflection means the laser can bounce around inside the machine if you are not using the right lens setup. None of this is hard to manage once you understand it, but it is exactly why a flat-sheet setting never transfers cleanly to a round tumbler.
The machine that made tumblers worth engraving again
The xTool F2 combines a 5W infrared laser and a 15W diode laser in one desktop unit, which means it can put a permanent dark mark on bare stainless steel without paint or marking spray. If you are tired of faint diode-only results on metal, this is the setup that changed my garage routine.
Amazon Check Today's Price on Amazon →Step 1: Set Up the Machine and the Rotary Attachment
Unboxing the xTool F2 is straightforward. The machine is compact, the lid opens from the front, and the built-in camera sits above the work area. Set it on a sturdy table or workbench with clearance around the back for the exhaust hose. I run my hose out a window I cut a plywood panel for, but a cracked garage door works too. The important part is airflow, because engraving metal produces a fine dust and a smell you do not want to breathe all afternoon.
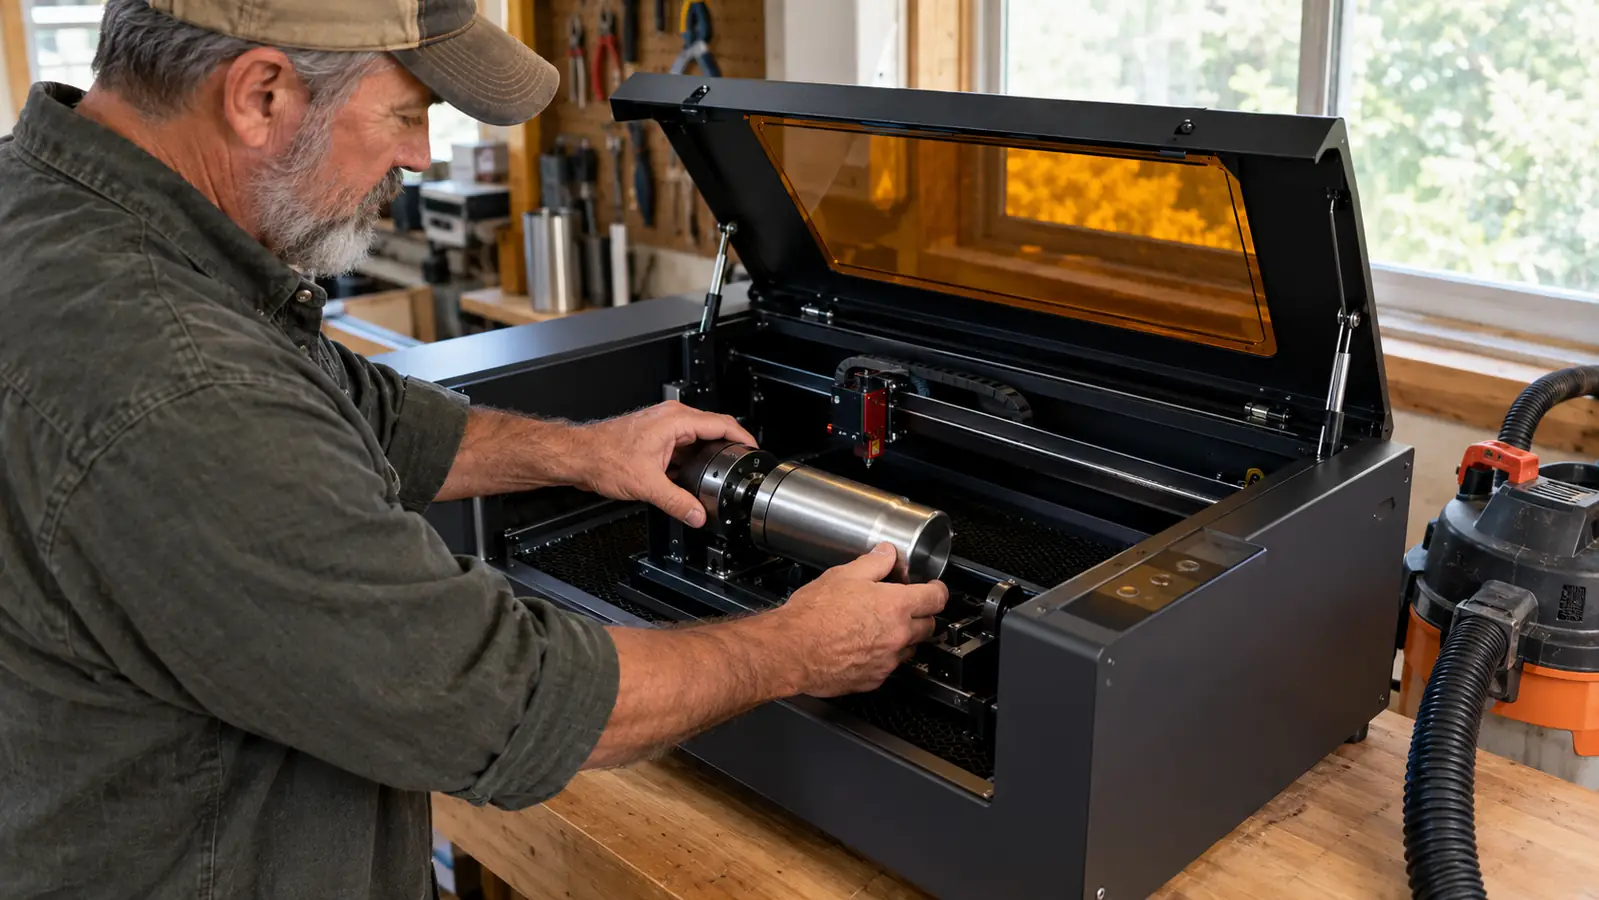
For a tumbler, you need the rotary attachment that came with your kit or that you add on later. It holds the tumbler by its top and bottom, so the tumbler can rotate under the beam while the laser marks a band around it. Slide the tumbler onto the rubber cones, seat it firmly, and make sure it spins freely by hand before you power anything on. If the tumbler wobbles, the engraving will be blurry or uneven, and no setting will fix that.
One more thing to check before you start: the tumbler needs to be clean on the outside and dry. I keep a box of cheap nitrile gloves next to the machine, and I put a fresh pair on right before I load a tumbler. It feels like overkill until you have had to redo a batch because one thumbprint showed up as a light patch in the middle of a name. Also, check that the rotary attachment's cones are the right size for your tumbler. Most kits include a couple of different cone sizes, and using the wrong one can make the tumbler sit slightly crooked. A crooked tumbler means an engraving that is deeper on one side and lighter on the other, and you will see it the moment you look at the finished piece.
Step 2: Clean the Tumbler and Set the Focus
Fingerprints are the enemy. The oils from your hands can cause the laser to leave a patchy mark, especially on bare stainless. Wipe the whole tumbler with isopropyl alcohol and a lint-free cloth, then handle it by the rim or with a clean glove while you position it. This sounds fussy, but it is the cheapest insurance you have.
Next, focus. The xTool F2 has a fixed focal length for each laser, and the machine guides you with a focus tool and the camera preview. For the infrared laser, the working distance is short, so you need the top of the tumbler's curved surface to be exactly at the right height. If you have the machine's focusing accessory, use it. If not, the built-in camera view will show you a sharp edge when you are at the right distance. I check focus twice on a new tumbler style, because a few millimeters of error turns a crisp design into a soft blur.
The other part of Step 2 that beginners skip is checking that the design will fit the curved surface. In the software, a name that looks small on a flat preview can wrap almost halfway around a tumbler once it is projected onto the cylinder. I measure the circumference of the tumbler with a cloth tape measure, divide it by the number of letters in the design, and make sure each letter is a reasonable width. This sounds like math homework, but it takes two minutes and it keeps you from engraving a name that disappears around the back of the tumbler where nobody can see it.
Step 3: Run a Test Pass on a Cheap Blank or a Test Tile
I know you want to engrave the real tumbler. Run a test first anyway. The xTool F2's infrared laser marks bare stainless by heating the surface, and the same settings that work on one brand of tumbler can come out light on another. A 30-second test pass on a scrap piece of stainless, or on the bottom of a tumbler you plan to use for testing, tells you more than any settings chart.
Start with the machine's recommended defaults for stainless steel, then run a small square or a short line of text at three power levels. Look at the result in daylight, not under the garage's LED light. A good mark on stainless is dark, even, and slightly rough to the touch. If it comes out yellow or brown, the power is too high or the speed is too slow. If it is barely visible, go the other way. Write down the winning setting on a sticky note and keep it near the machine. I have a whole row of them now, one for each tumbler brand I buy in bulk.
Keep a record of what you test. I keep a small spiral notebook on the bench and I write down the brand of tumbler, the power, the speed, the frequency, and whether I used the diode laser or the infrared laser. The xTool F2 has both, and they behave very differently on metal. The diode laser will not mark bare stainless at all in most cases, which is why the infrared laser is the one you want for this job. If you try to use the diode laser on bare stainless and it does nothing, that is not a broken machine, it is the wrong tool for the job. The infrared laser is what gives you that dark, permanent mark.
Step 4: Engrave the Real Tumbler With the Right Settings
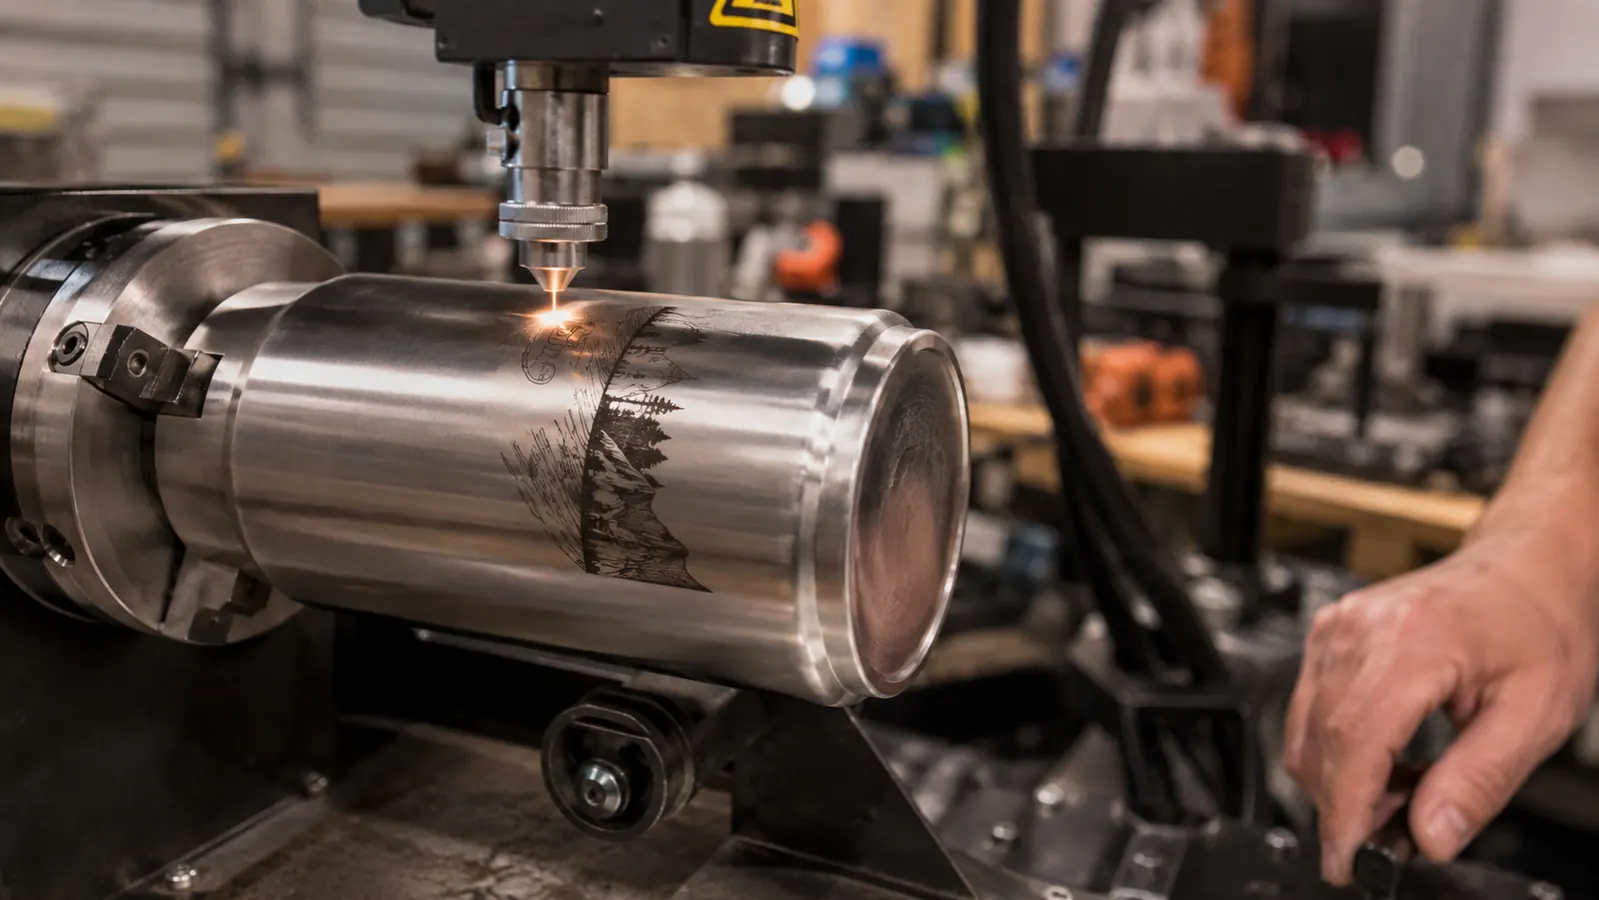
Once your test pass looks right, load your design into XCS, xTool's software, and set it to print on the rotary attachment. The built-in camera preview lets you drag your design into position, which saves you from the old trial-and-error of guessing where the mark will land. I still do a final check by dry-running the machine with the lid open, watching the laser's aiming dot travel the full path before I let it fire. That one habit has saved me more tumblers than any other.
For a typical 20 oz tumbler with a name or monogram, I run the 5W infrared laser at a moderate power, a speed around a few hundred millimeters per second, and a frequency in the middle of the range. The exact numbers matter less than the fact that you tested them on your own blanks. A higher frequency tends to give a darker, more consistent fill on stainless, but it also slows the pass. Start with the default, check the result, and adjust one variable at a time.
When you are happy with the test, run the real tumbler. I usually start with a slower speed than my test used, because a full design covers a much larger area and the heat builds up differently on a long pass. If the test piece was a small square, the real job might take several minutes, and the metal will get warmer than the test did. That is fine as long as the mark stays dark and even. If you see the edges of the letters starting to brown, pause the job and lower the power by a step. You can always run a second pass, but you cannot unburn a mark that has gone too dark or too rough.
Step 5: Clean the Engraving and Let the Tumbler Cool
When the laser finishes, the engraving area will be warm and covered with a fine dark dust. Let the tumbler sit for a minute, then wipe it with a dry cloth to remove the loose residue. If you want a crisper look, wipe the engraved area with a damp cloth, then dry it immediately. Do not use water while the metal is still hot, because it can leave a blotchy stain on the surface.
Finally, inspect the mark in good light. A clean stainless engraving should be dark, even, and permanent. It will not wash off, and it will not fade from normal use. If you see a light spot, it usually means the tumbler was not seated level in the rotary, or the focus drifted over a curve. That is the moment to recheck the setup and run another test rather than ship a flawed piece to a customer. I have learned this the hard way, and a two-minute recheck is much cheaper than a refund and a disappointed buyer.
After the tumbler is cool and clean, I give it one final check by holding it at an angle in the light. A good stainless engraving looks almost black against the brushed steel, and the edges of the letters should be sharp. If you see any white or gray areas inside the letters, that is usually a sign that the frequency was too low for that particular steel. Do not try to fix it by running the same design again over the top, because a second pass on an already-marked area can make it worse. Set up a new test piece, adjust the frequency up, and run a fresh sample. The tumbler you ruined becomes your new test piece.
What Else Helps
A few things make the whole process easier. A small shop vac or a dust collector keeps the work area clear of the fine metal dust, and it keeps the machine's optics cleaner for longer. A roll of painter's tape is useful for covering any part of the tumbler you do not want marked, though the rotary attachment usually makes that unnecessary. And a set of cheap test blanks, the kind you do not care about, will save you money in the long run because you will stop ruining good tumblers while dialing in settings.
I also recommend keeping a notebook or a note on your phone with the settings that worked for each tumbler brand. After a few months, you will have a reference list that makes every new job faster. The xTool F2's software keeps a history of recent jobs, but a handwritten note with the brand and the power and speed settings is faster to consult when you are in the middle of a batch.
If you plan to sell engraved tumblers, buy your blanks in bulk from one supplier and test a full batch of settings once. Different batches of the same brand can be slightly different, but the variation is much smaller than the variation between brands. I also label the bottom of each test tumbler with the settings that worked, using a permanent marker. That way, six months later, I can grab a tumbler off the shelf and know exactly what to run for that style. It is a small habit, but it is the difference between a smooth weekend batch and a Sunday night spent redoing jobs.
I burned through three cheap blanks before I got my first clean tumbler, and every one of those failures came down to something I should have checked before hitting start.
Start with the machine that does the testing for you
The xTool F2's built-in camera and guided focusing take most of the guesswork out of the first few tumbler projects. If you are ready to stop fighting with light marks on metal, this is the desktop machine I would buy again tomorrow.
Amazon Check Today's Price on Amazon →